Barrier Care, Installation and Maintenance Tips
![]()
Summary
Maximising visitor experience and creating the best quality exhibition space possible is a top priority for curators, technicians, exhibition designers and facilities managers.Understandably, the primary focus is on the artworks and exhibits themselves, and the supporting equipment details such as the protective or guidance equipment may not get the fine-tuning needed to enhance an exhibit. However, it is in the finer details where the over-all finished quality of an artwork installation or exhibition space can either be enhanced, or undermined.
For both initial installation and ongoing maintenance, there are some key errors to watch out for when it comes to art barrier usage, which we share with you below.
Installation Layout
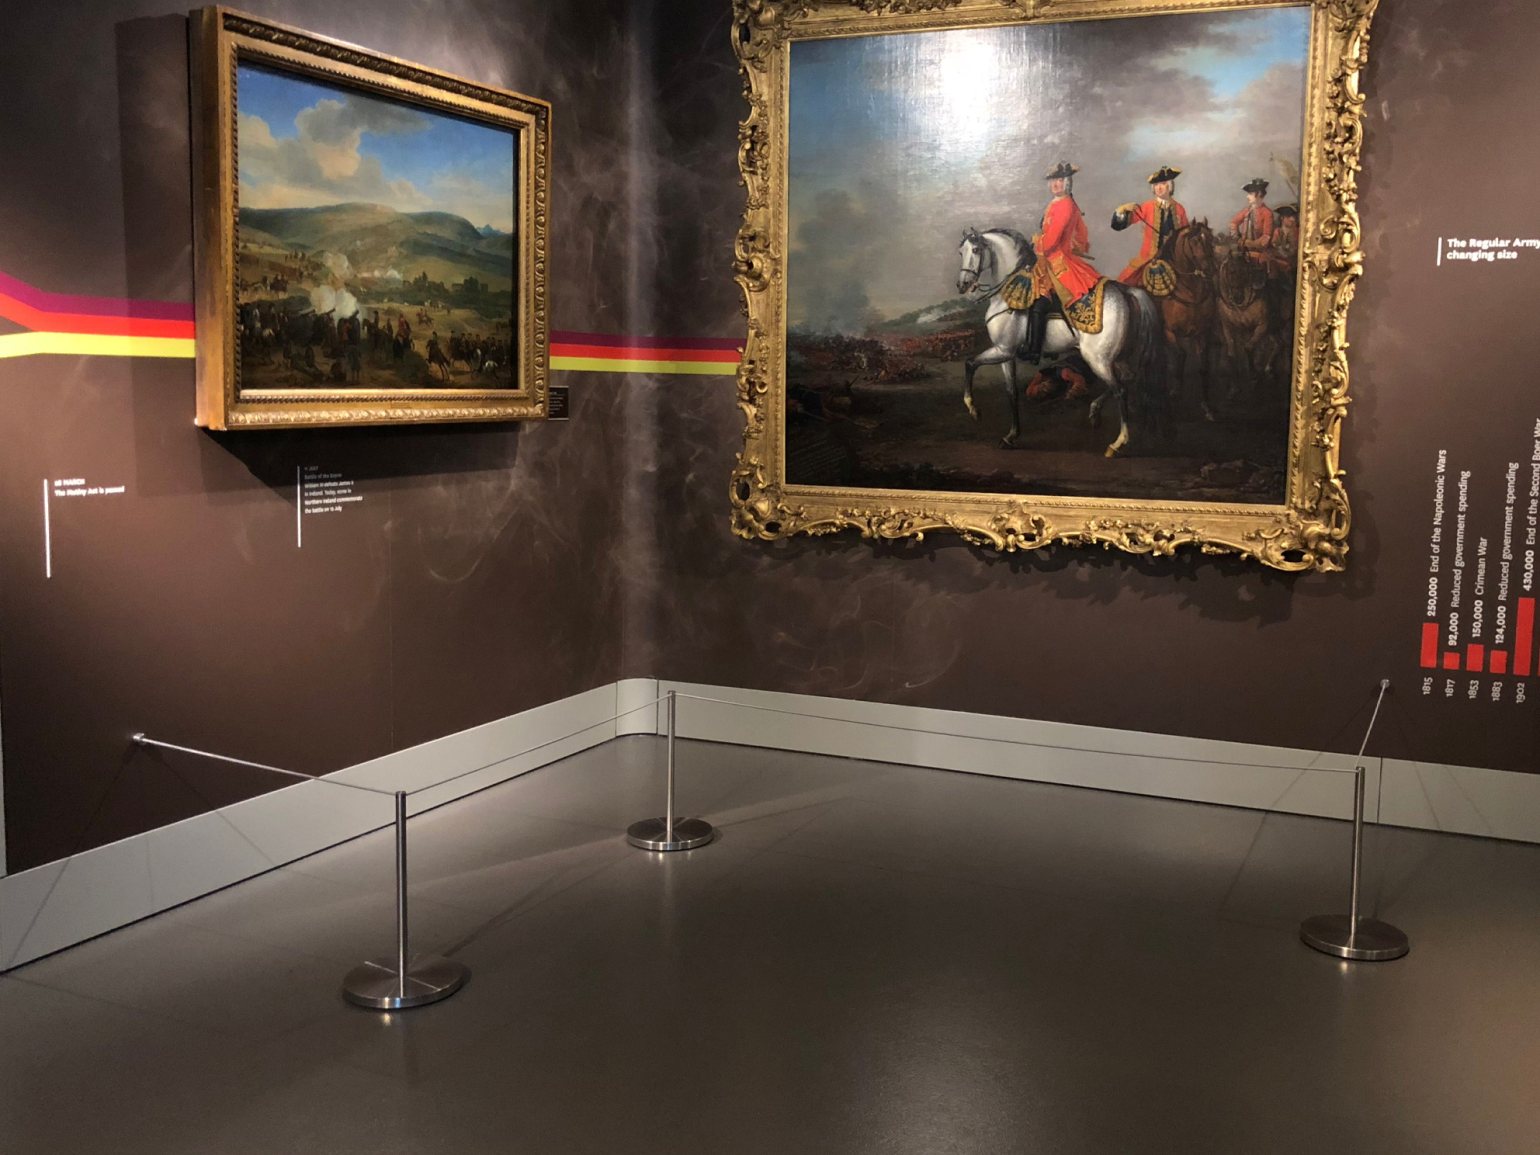
When installing exhibit barriers, watch out for pinch points at door openings and other nearby exhibits. These affect visitor flow and can create trip hazards as well as obstacles for maintenance and installation crews.
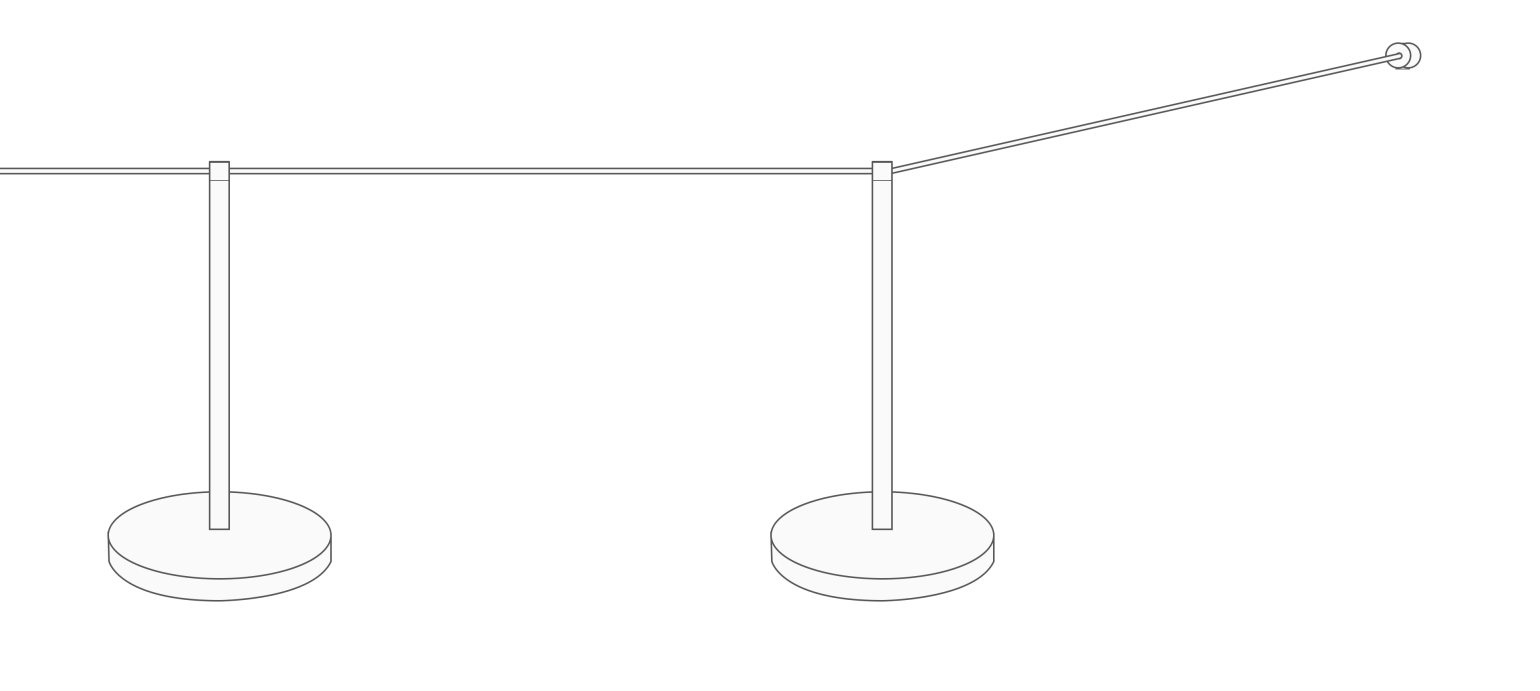
The Solution: To reduce damage and trip hazards, pre-layout by marking on the floor the intended barrier layout and identify all pinch points. Consider dropping the last barriers in a layout and instead, use a wall connecting terminator to tie the cord back neatly to the wall sealing the protective envelope.
![]()
Drooping Cord
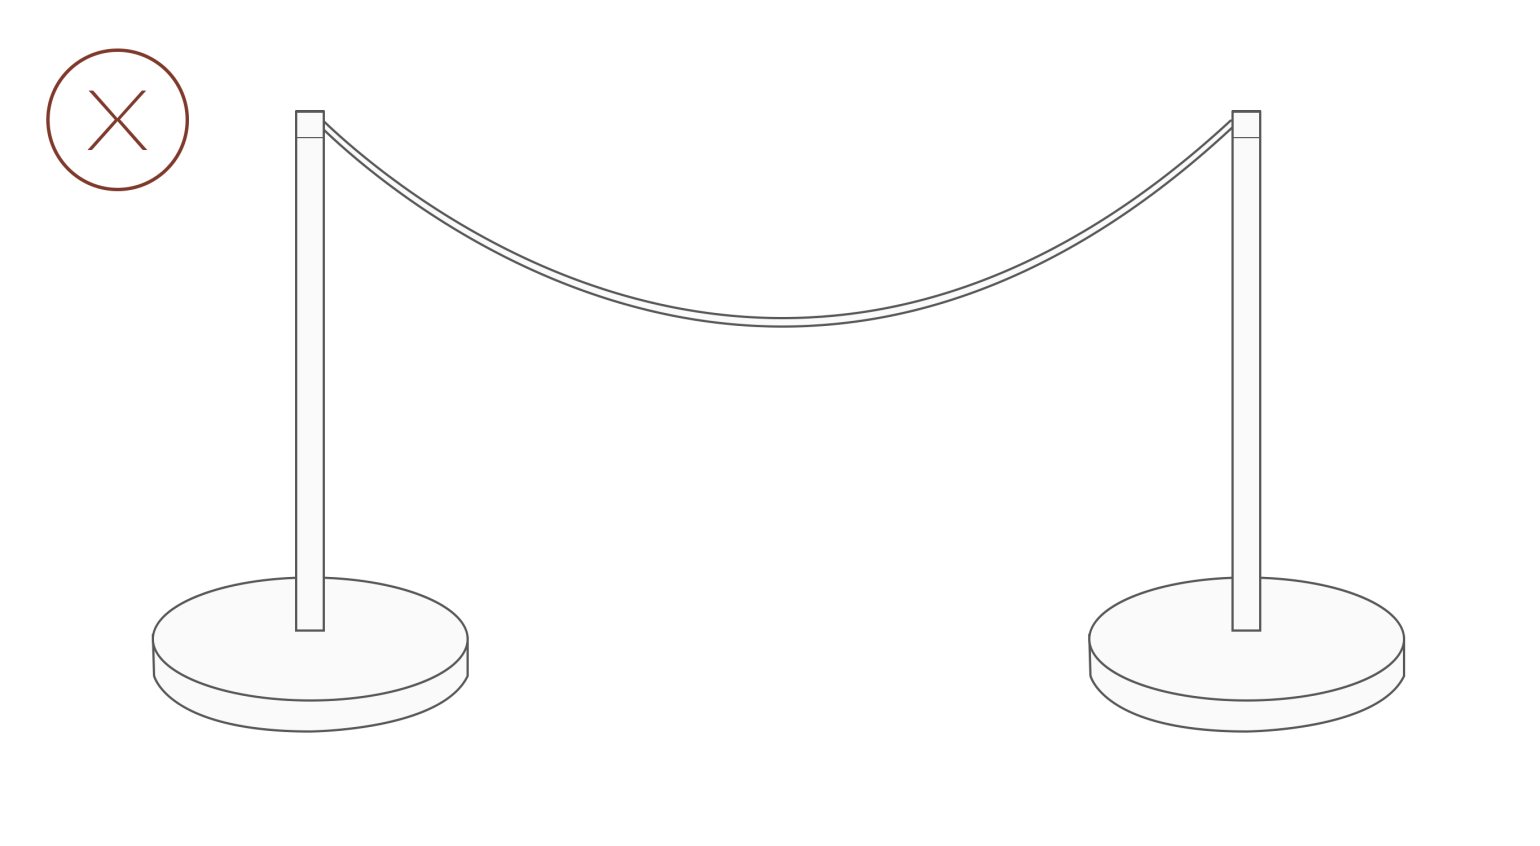
The most common distraction from a well-presented exhibit is a drooping cord. This draws attention to the cord instead of the exhibit.
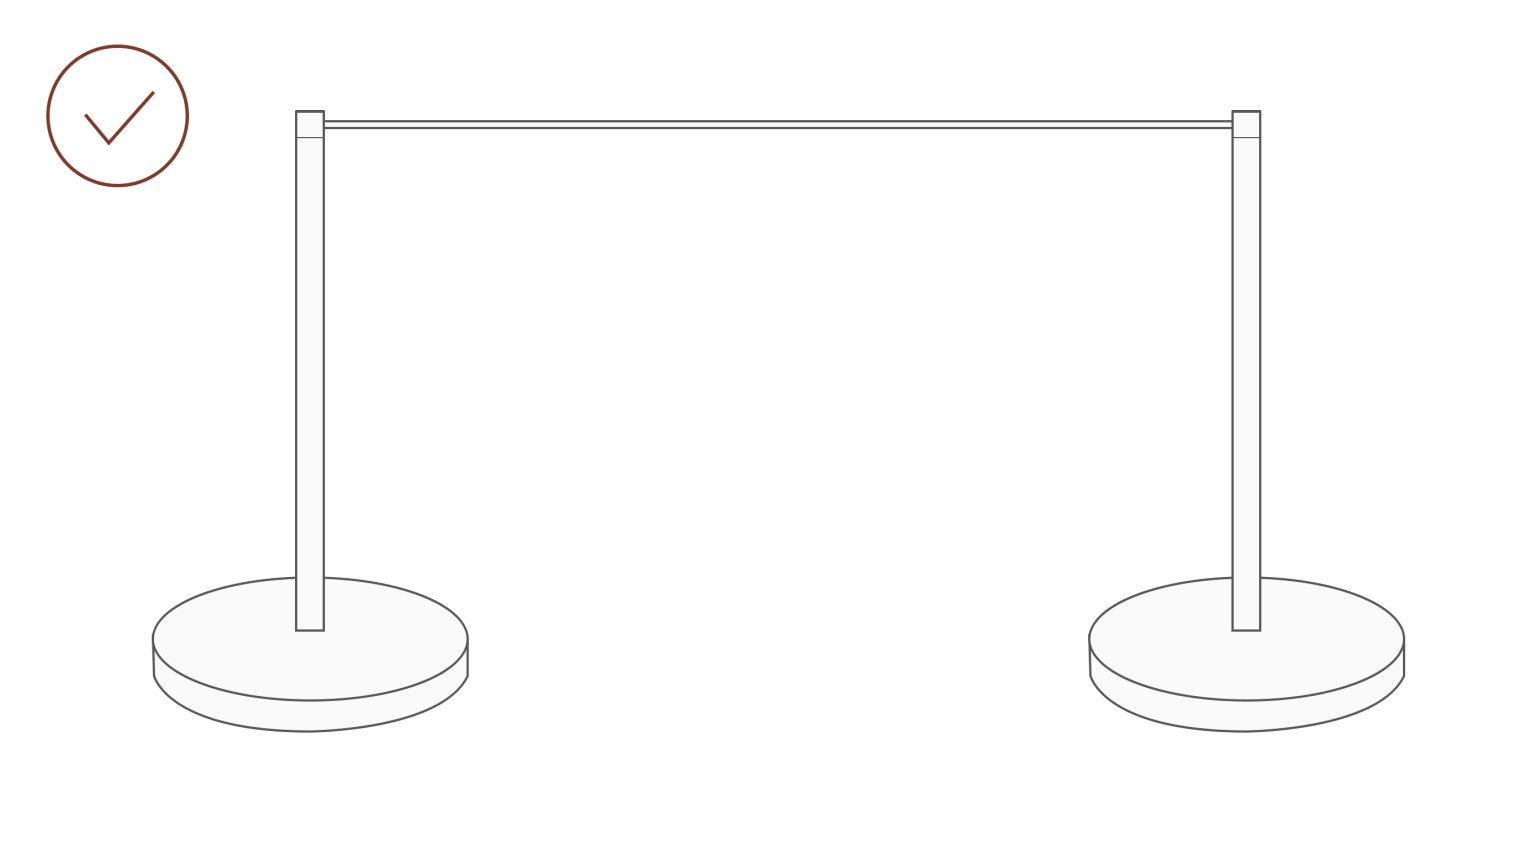
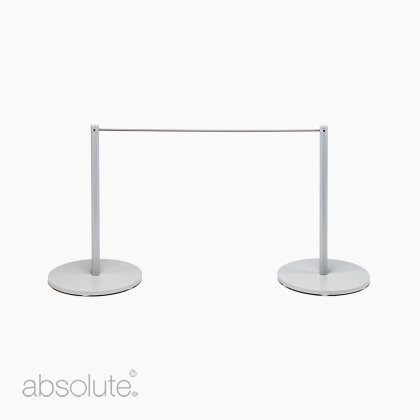
The Solution: The easy fix is to make sure that the barriers are slightly further apart so that the cord draws a straight clean line. Cord drooping can also happen as the cord loses elasticity over time. In this instance, pulling the cord through from one end of a run of barriers to the other, trimming as needed, then re-inserting it into the upright will easily fix the issue.
![]()
![]()
Wrapped Cord Around Uprights
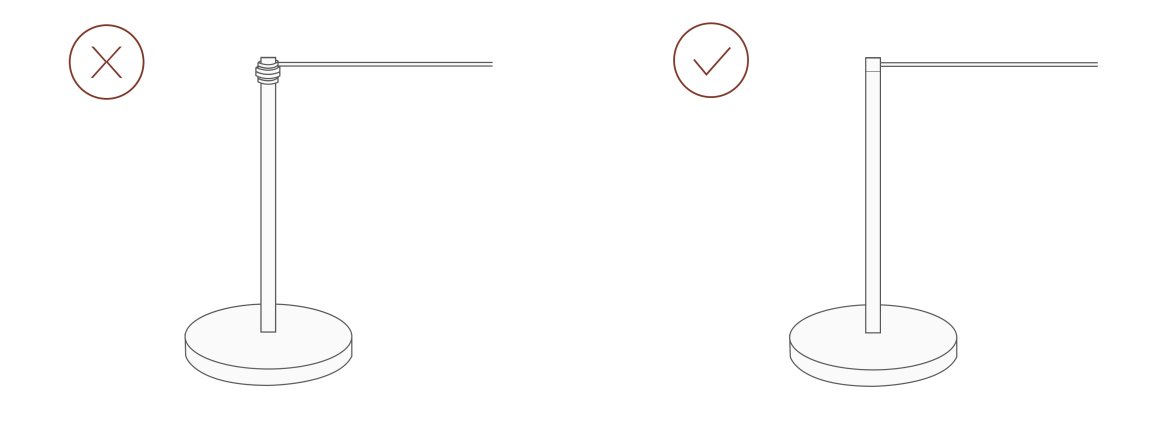
As mentioned, over time elasticated cords will lose elasticity. To tighten the cord, we see instances where the cord has been wrapped around the upright, which resolves the issue of a droopy cord, but creates a new issue, as the wrapped cord looks untidy.
The Solution: If the cord has already been tidied as described above, it may be that the cord is reaching the natural end of its elasticity life and requires replacement. The inner and outer sheaths of the cord will give way over time and we recommend replacing your cord every four to five years to avoid the wrapping eyesore.
![]()
Knotted Cord
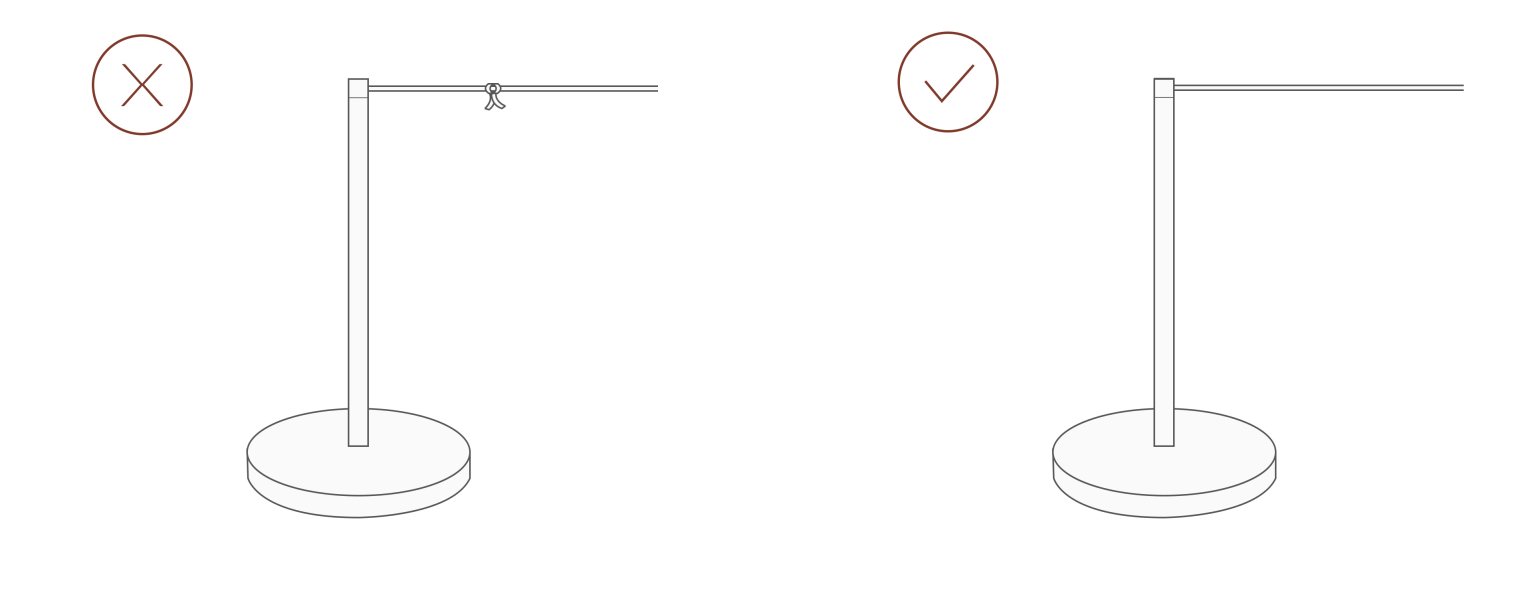
We sometimes see the end of a run of barriers terminated with a knot of cord sticking out of the barrier upright, or joining two pieces of cord together, usually due to lack of training in barrier and cord use.
The Solution: Our barriers are designed so that you can simply cut the cord and insert it down into the upright before placing the cap on top.
![]()
This video shows you how to insert the cord properly (skip to 30 seconds in):
Uneven Barrier Intervals/Spacing
Uneven art barrier spacing can create a visually untidy rhythm that distracts from an exhibit. For most installations, we recommend a spacing of up to 2m between barrier uprights, enough so that the cord remains straight while ensuring the barriers work with the key art placements in an exhibition.
The Solution: Ensure your barriers are at the recommended spacing (2m for our freestanding barriers, 2.5m for our fixed barriers). Also, whenever possible, barriers should be placed in a symmetrical fashion in front of an artwork as this maintains good overall visual harmony.
![]()
![]()
Loose/Leaning Uprights
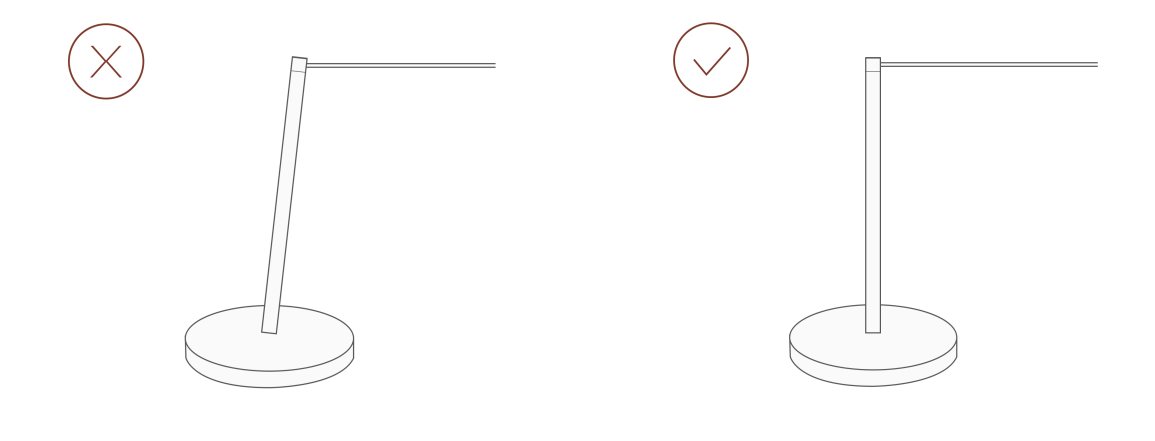
We frequently see barrier uprights that are leaning to the side and held in place with elastic cords. This effect again, immediately draws the eye to the barrier instead of the exhibit. Barrier bolts may have never been tightened properly when initially installed, or they may have loosened from installation movement and maintenance crews.
The Solution: On initial installation, and at regular intervals, check that the bolts in the base of the barriers are tight, and always use the Allen key to tighten.
![]()
Smears and Dirt (Particularly on Stainless Finish)
Barriers frequently serve heavy duty in high footfall areas and can take abuse from visitors, cleaning crews and installation crews moving barriers for new exhibits. This leaves marks in the form of dirty handprints, smears and dings.
The Solution: Wipe barriers down with WD-40 approximately every three months to maintain the finish. Also, if stacking barriers due to lack of storage space, place packing foam or cardboard squares before setting a barrier on the top finish of another.
To Conclude
Understandably over time, wear-and-tear, can lead to some of the situations discussed above. It is important to make sure that all within your facility are familiar with the above museum barriers installation and maintenance guidance, to ensure the visual and functional quality of your spaces and exhibitions.
Browse Freestanding Art Barriers
Steadfast® Freestanding Barrier (400mm)from $167.58 (ex VAT)Essentials Freestanding Barrier (400mm)$130.83 (ex VAT)Essentials Freestanding Barrier (900mm)$202.86 (ex VAT)Steadfast® Freestanding Barrier (1000mm)from $291.06 (ex VAT)Q Barrier Freestanding$380.73 (ex VAT)-
Posted by Jade Turner
7th August 2023

